Sharing Photos
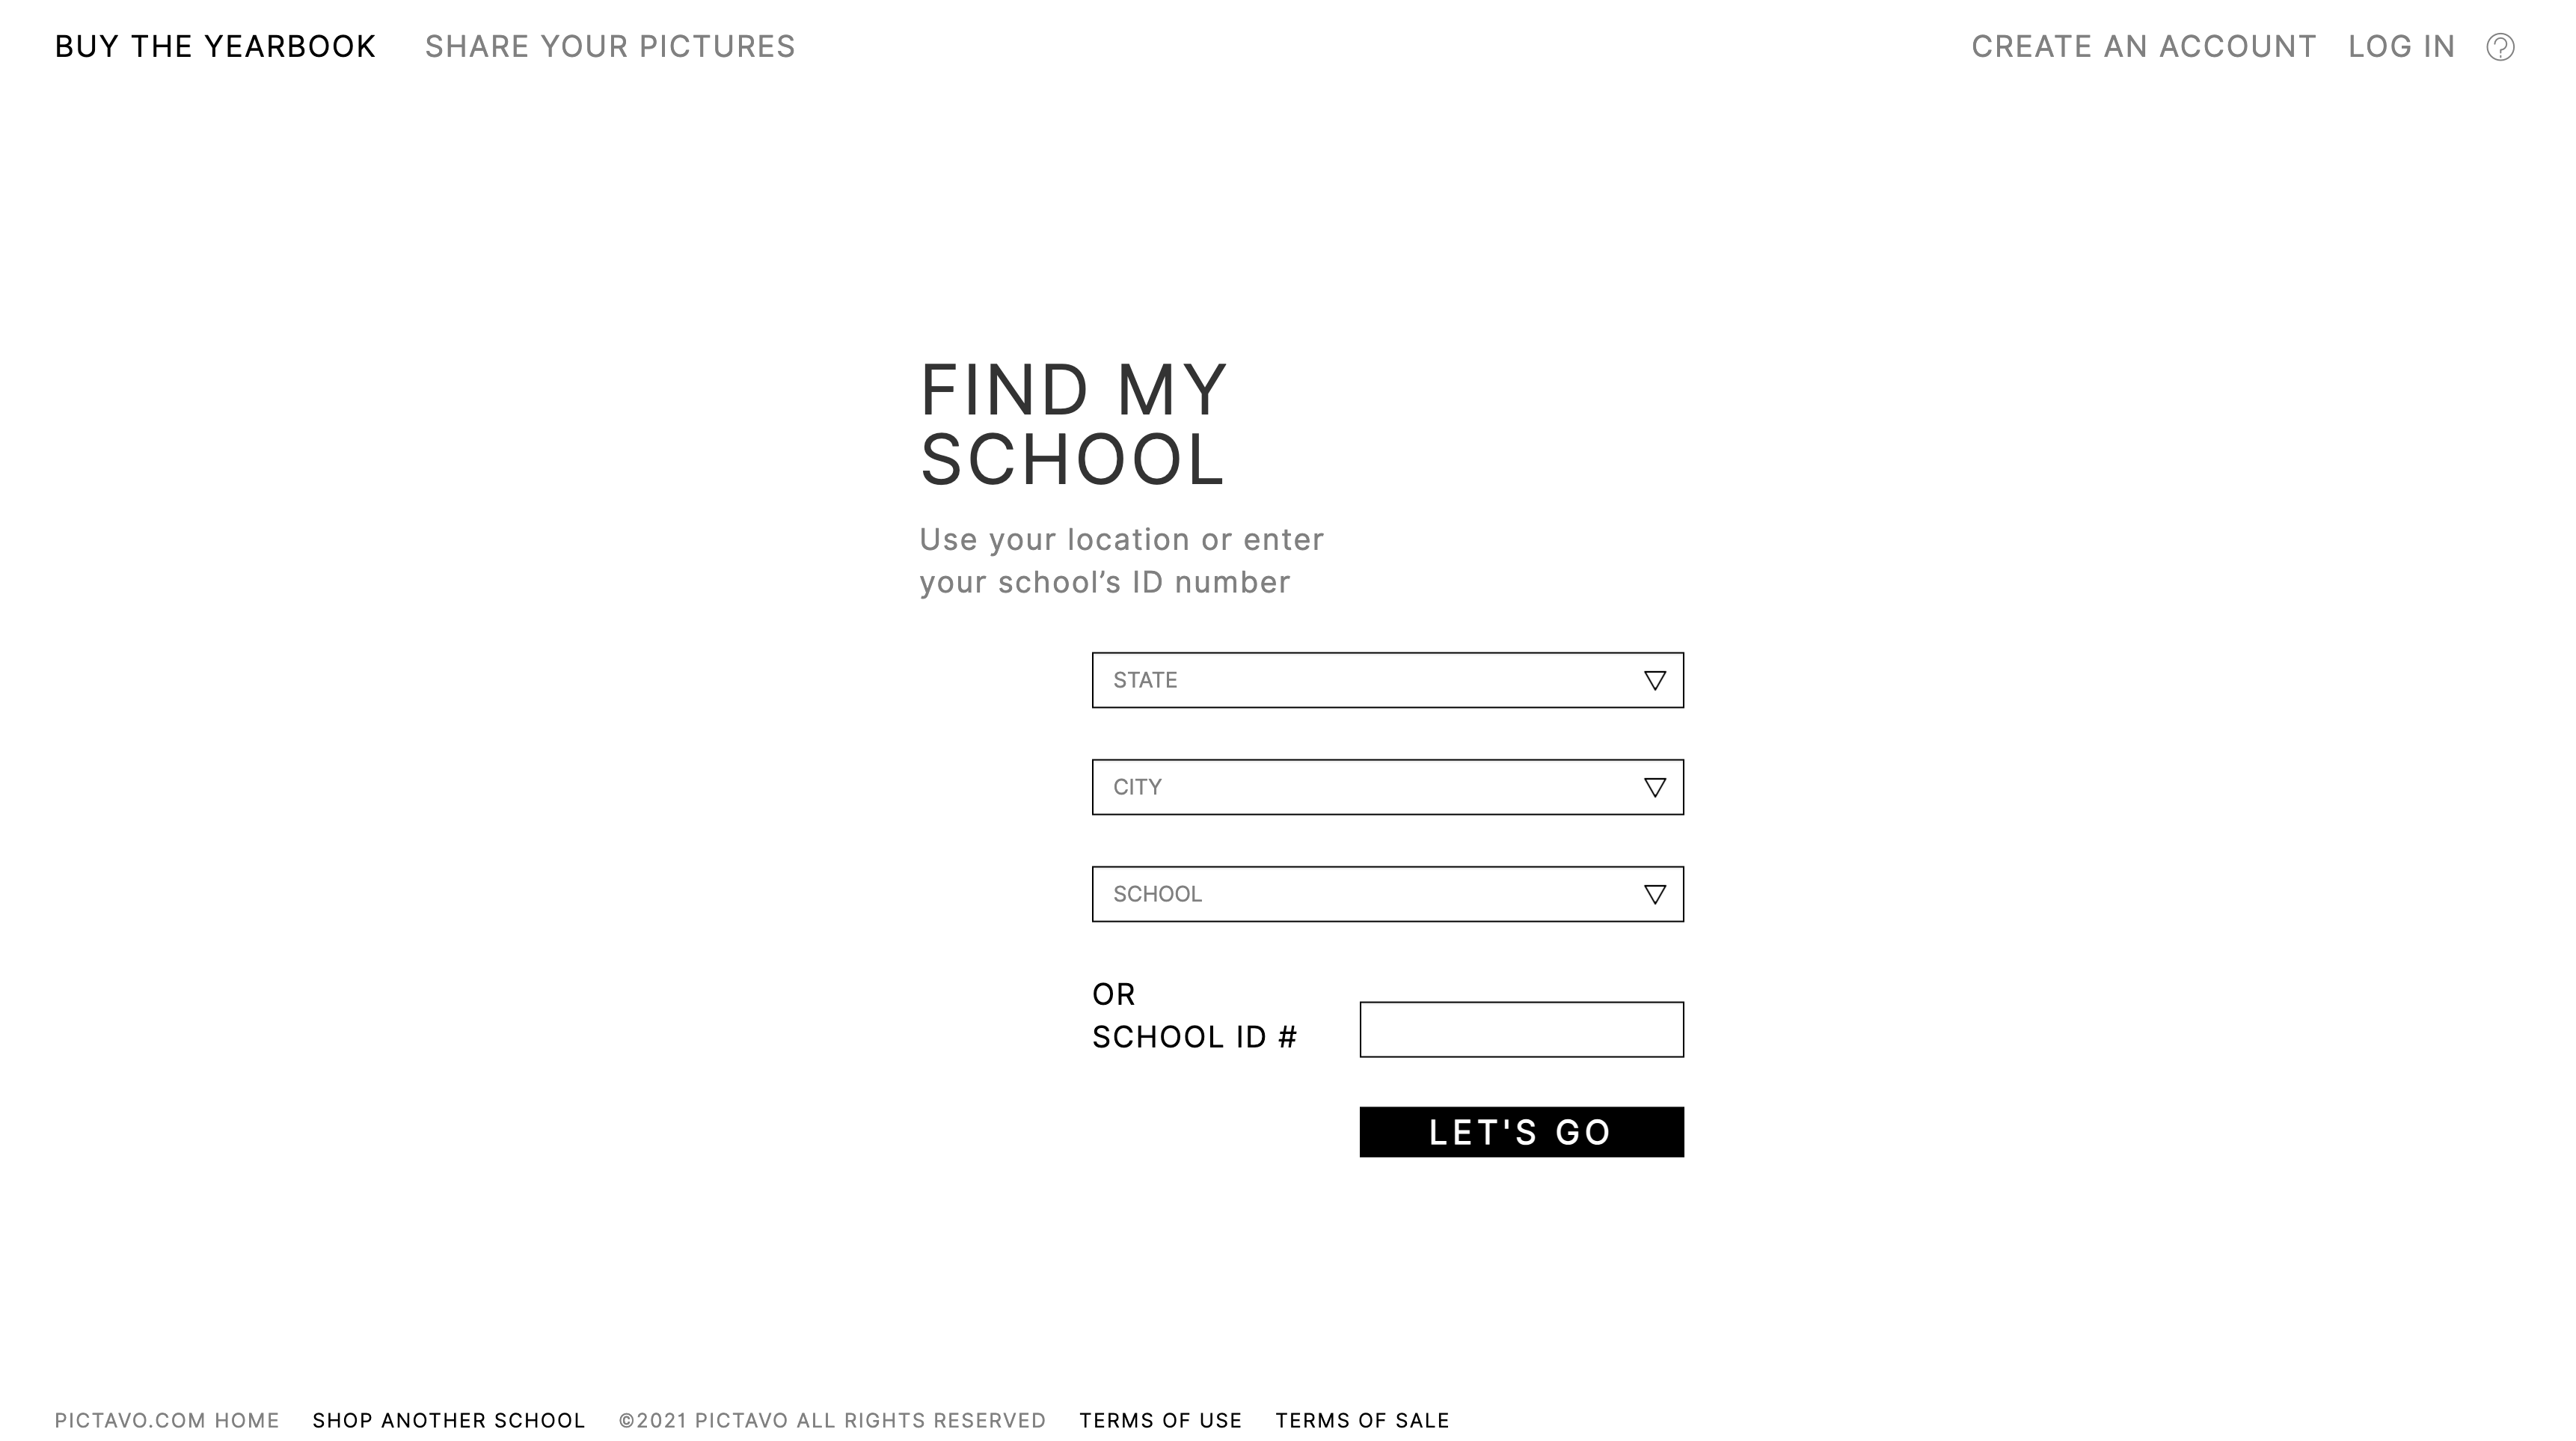
Find your school by location or type in the school ID.

Click the Share Pictures icon.
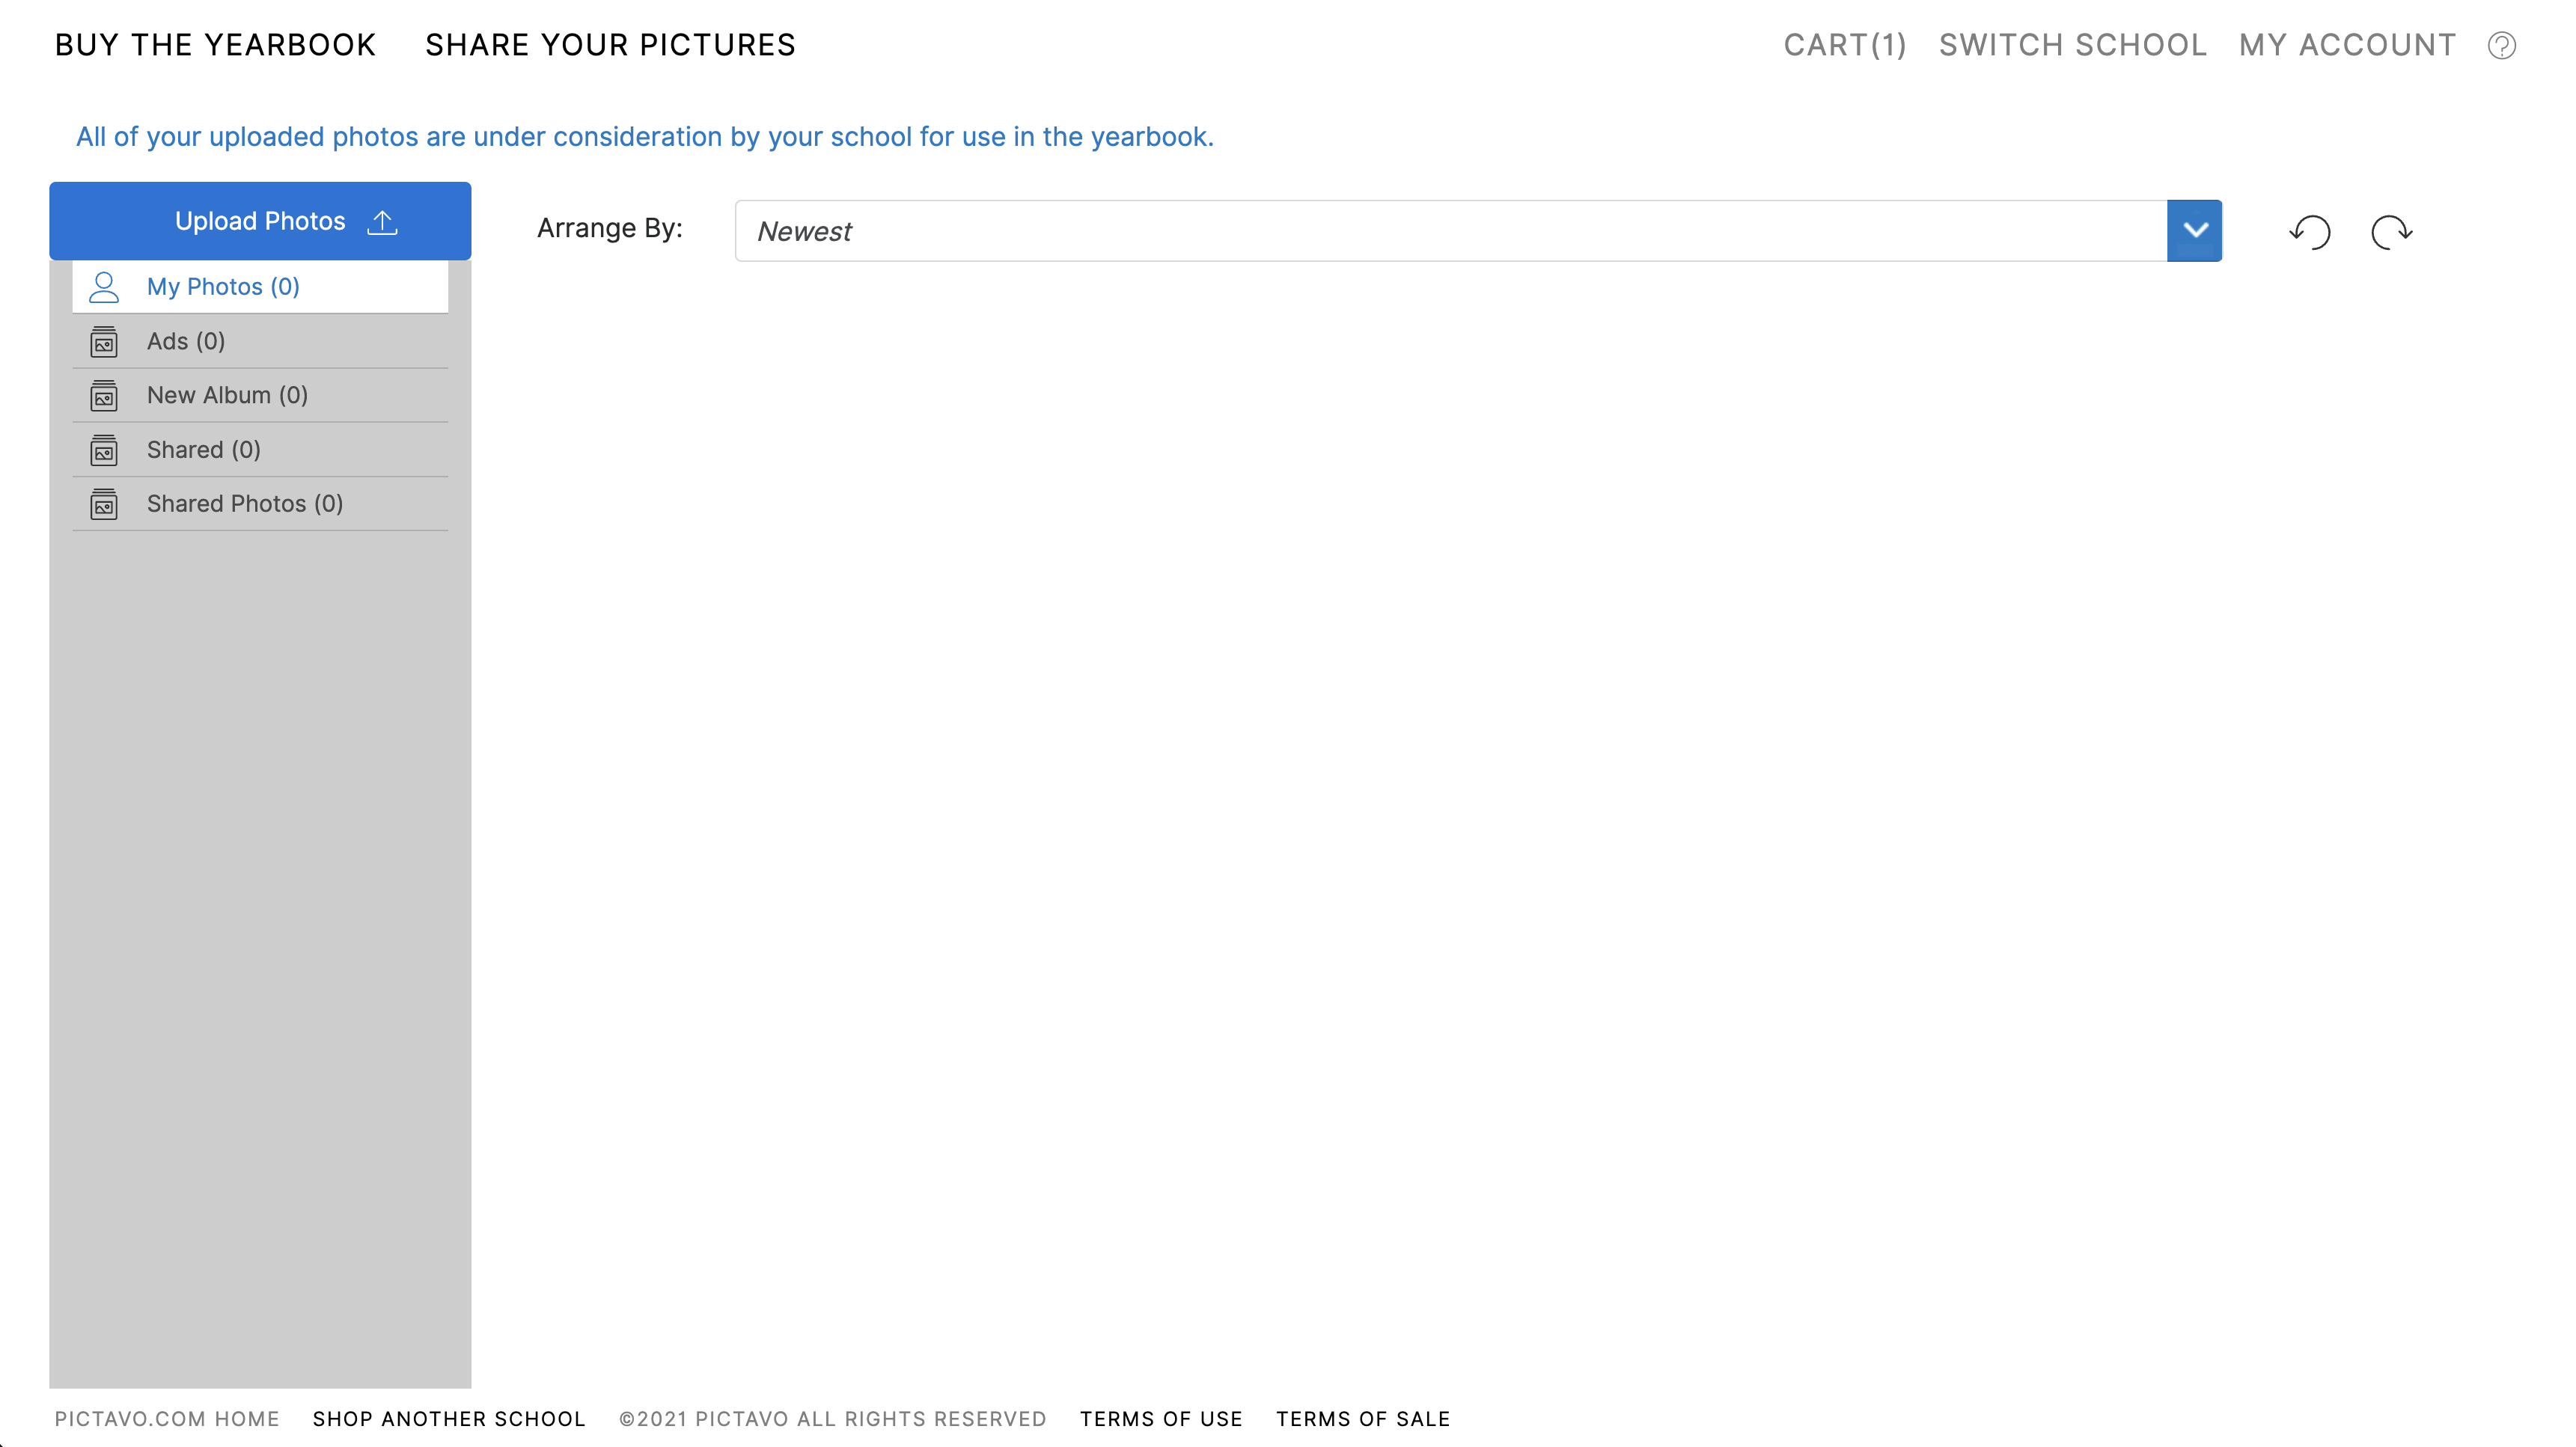
Click Upload Photos to start uploading.
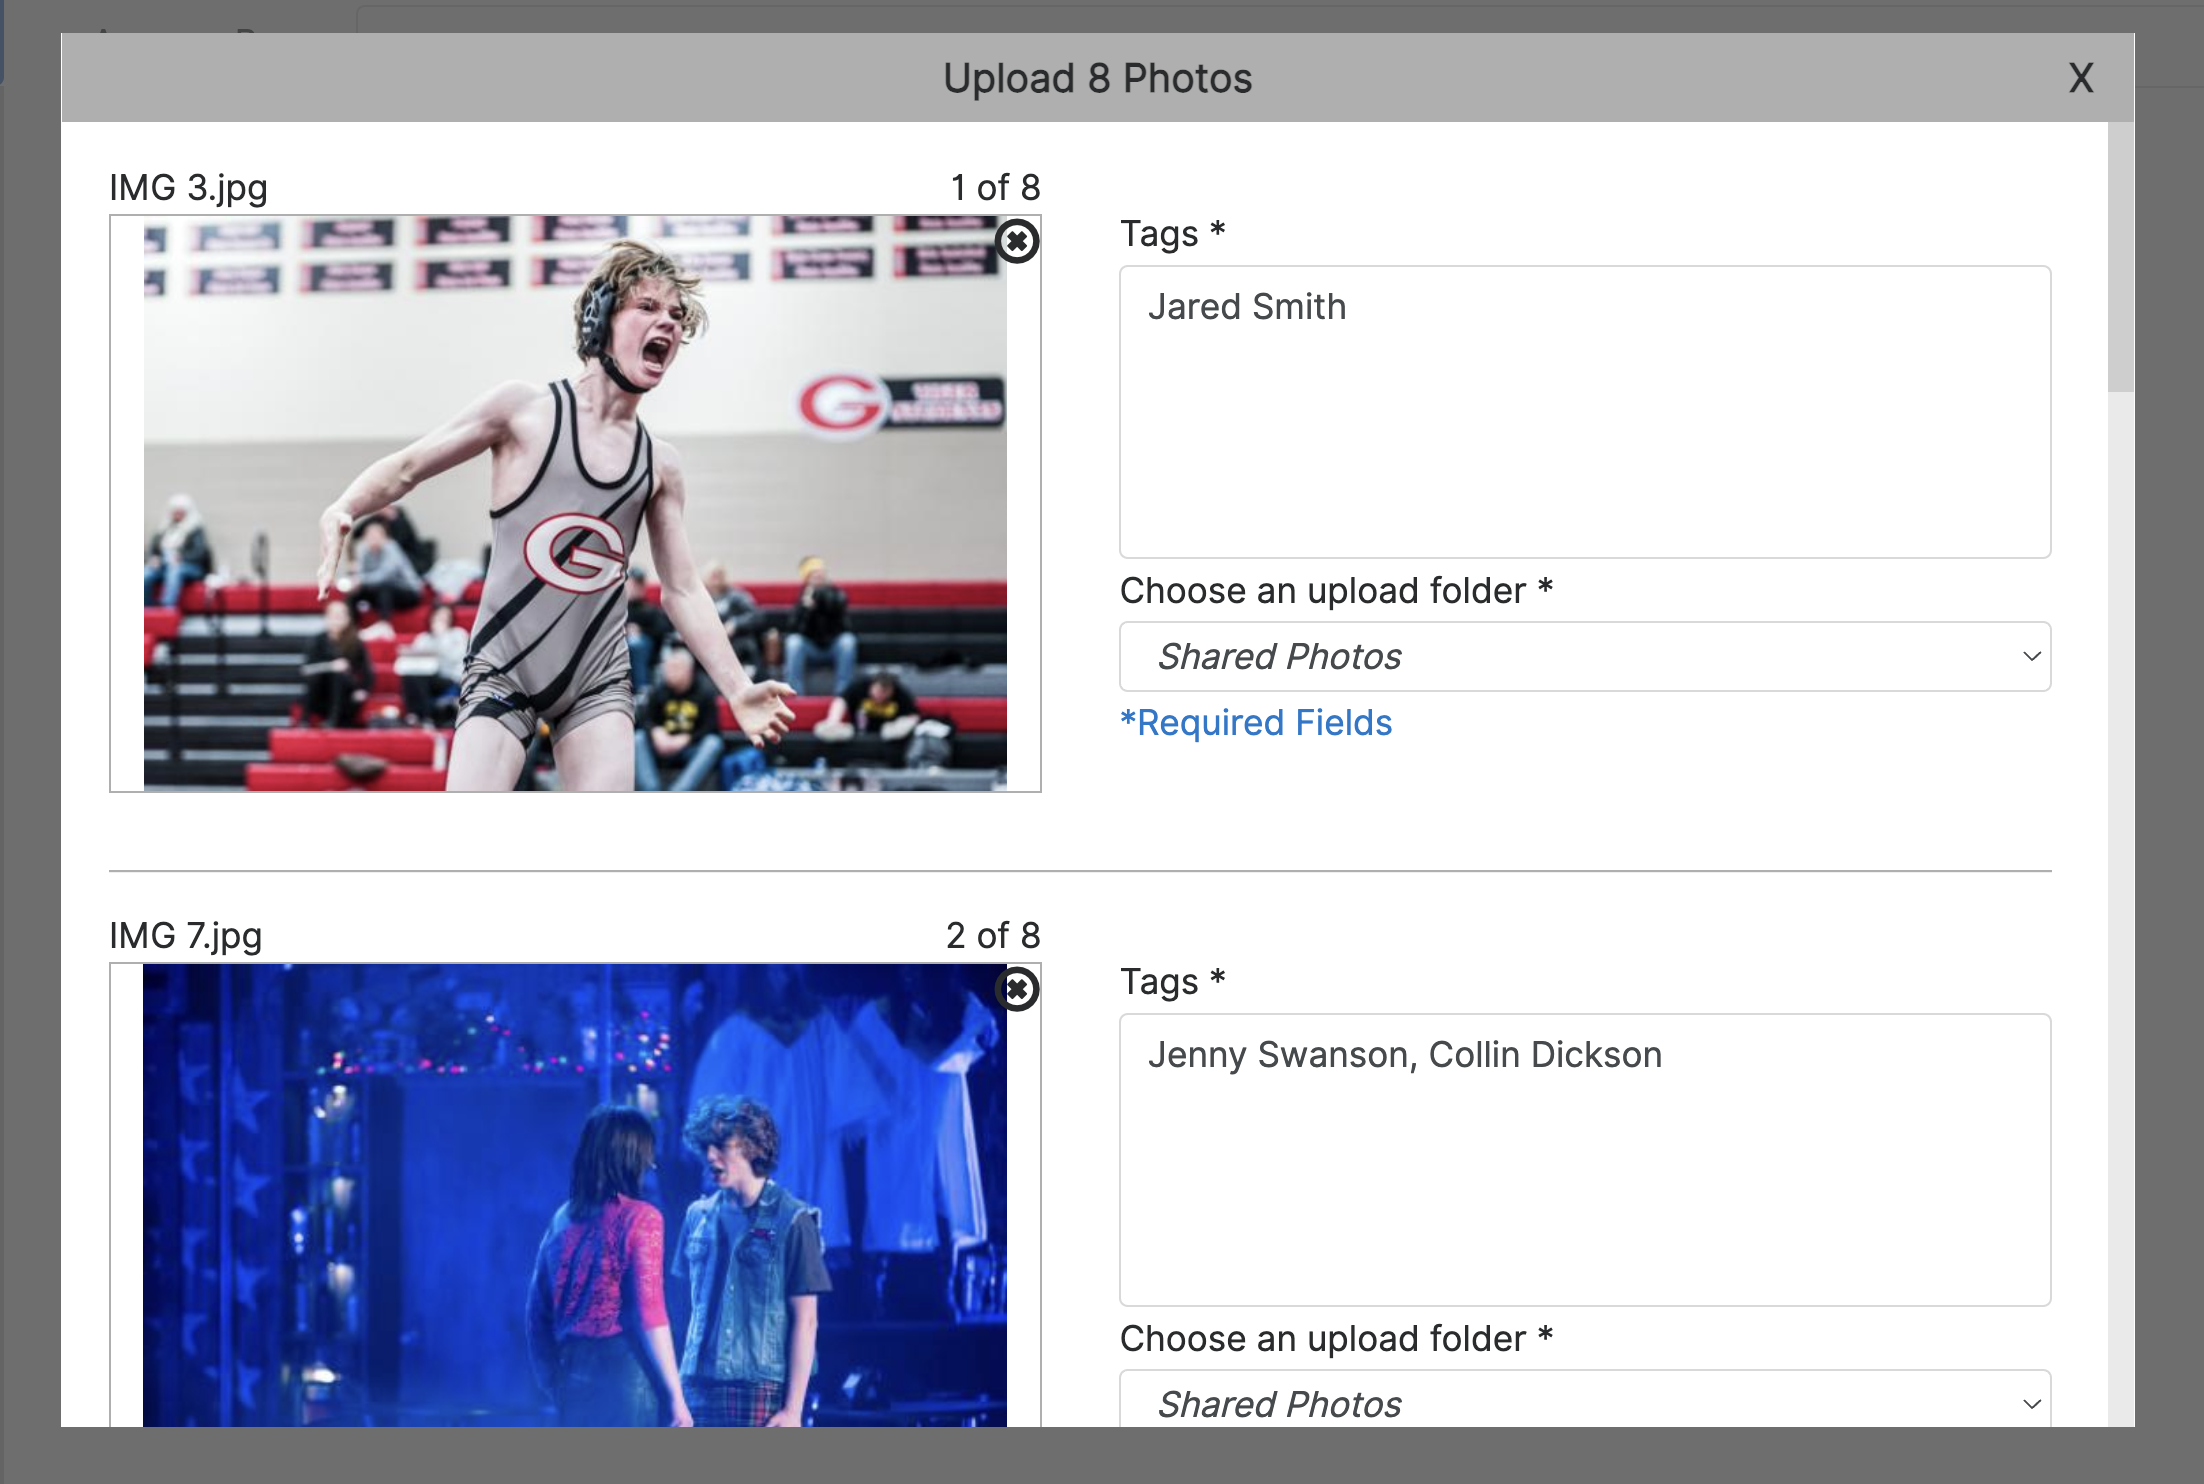
After selecting the photos you wish to upload, tag all of them and select the folder you want them to go into.
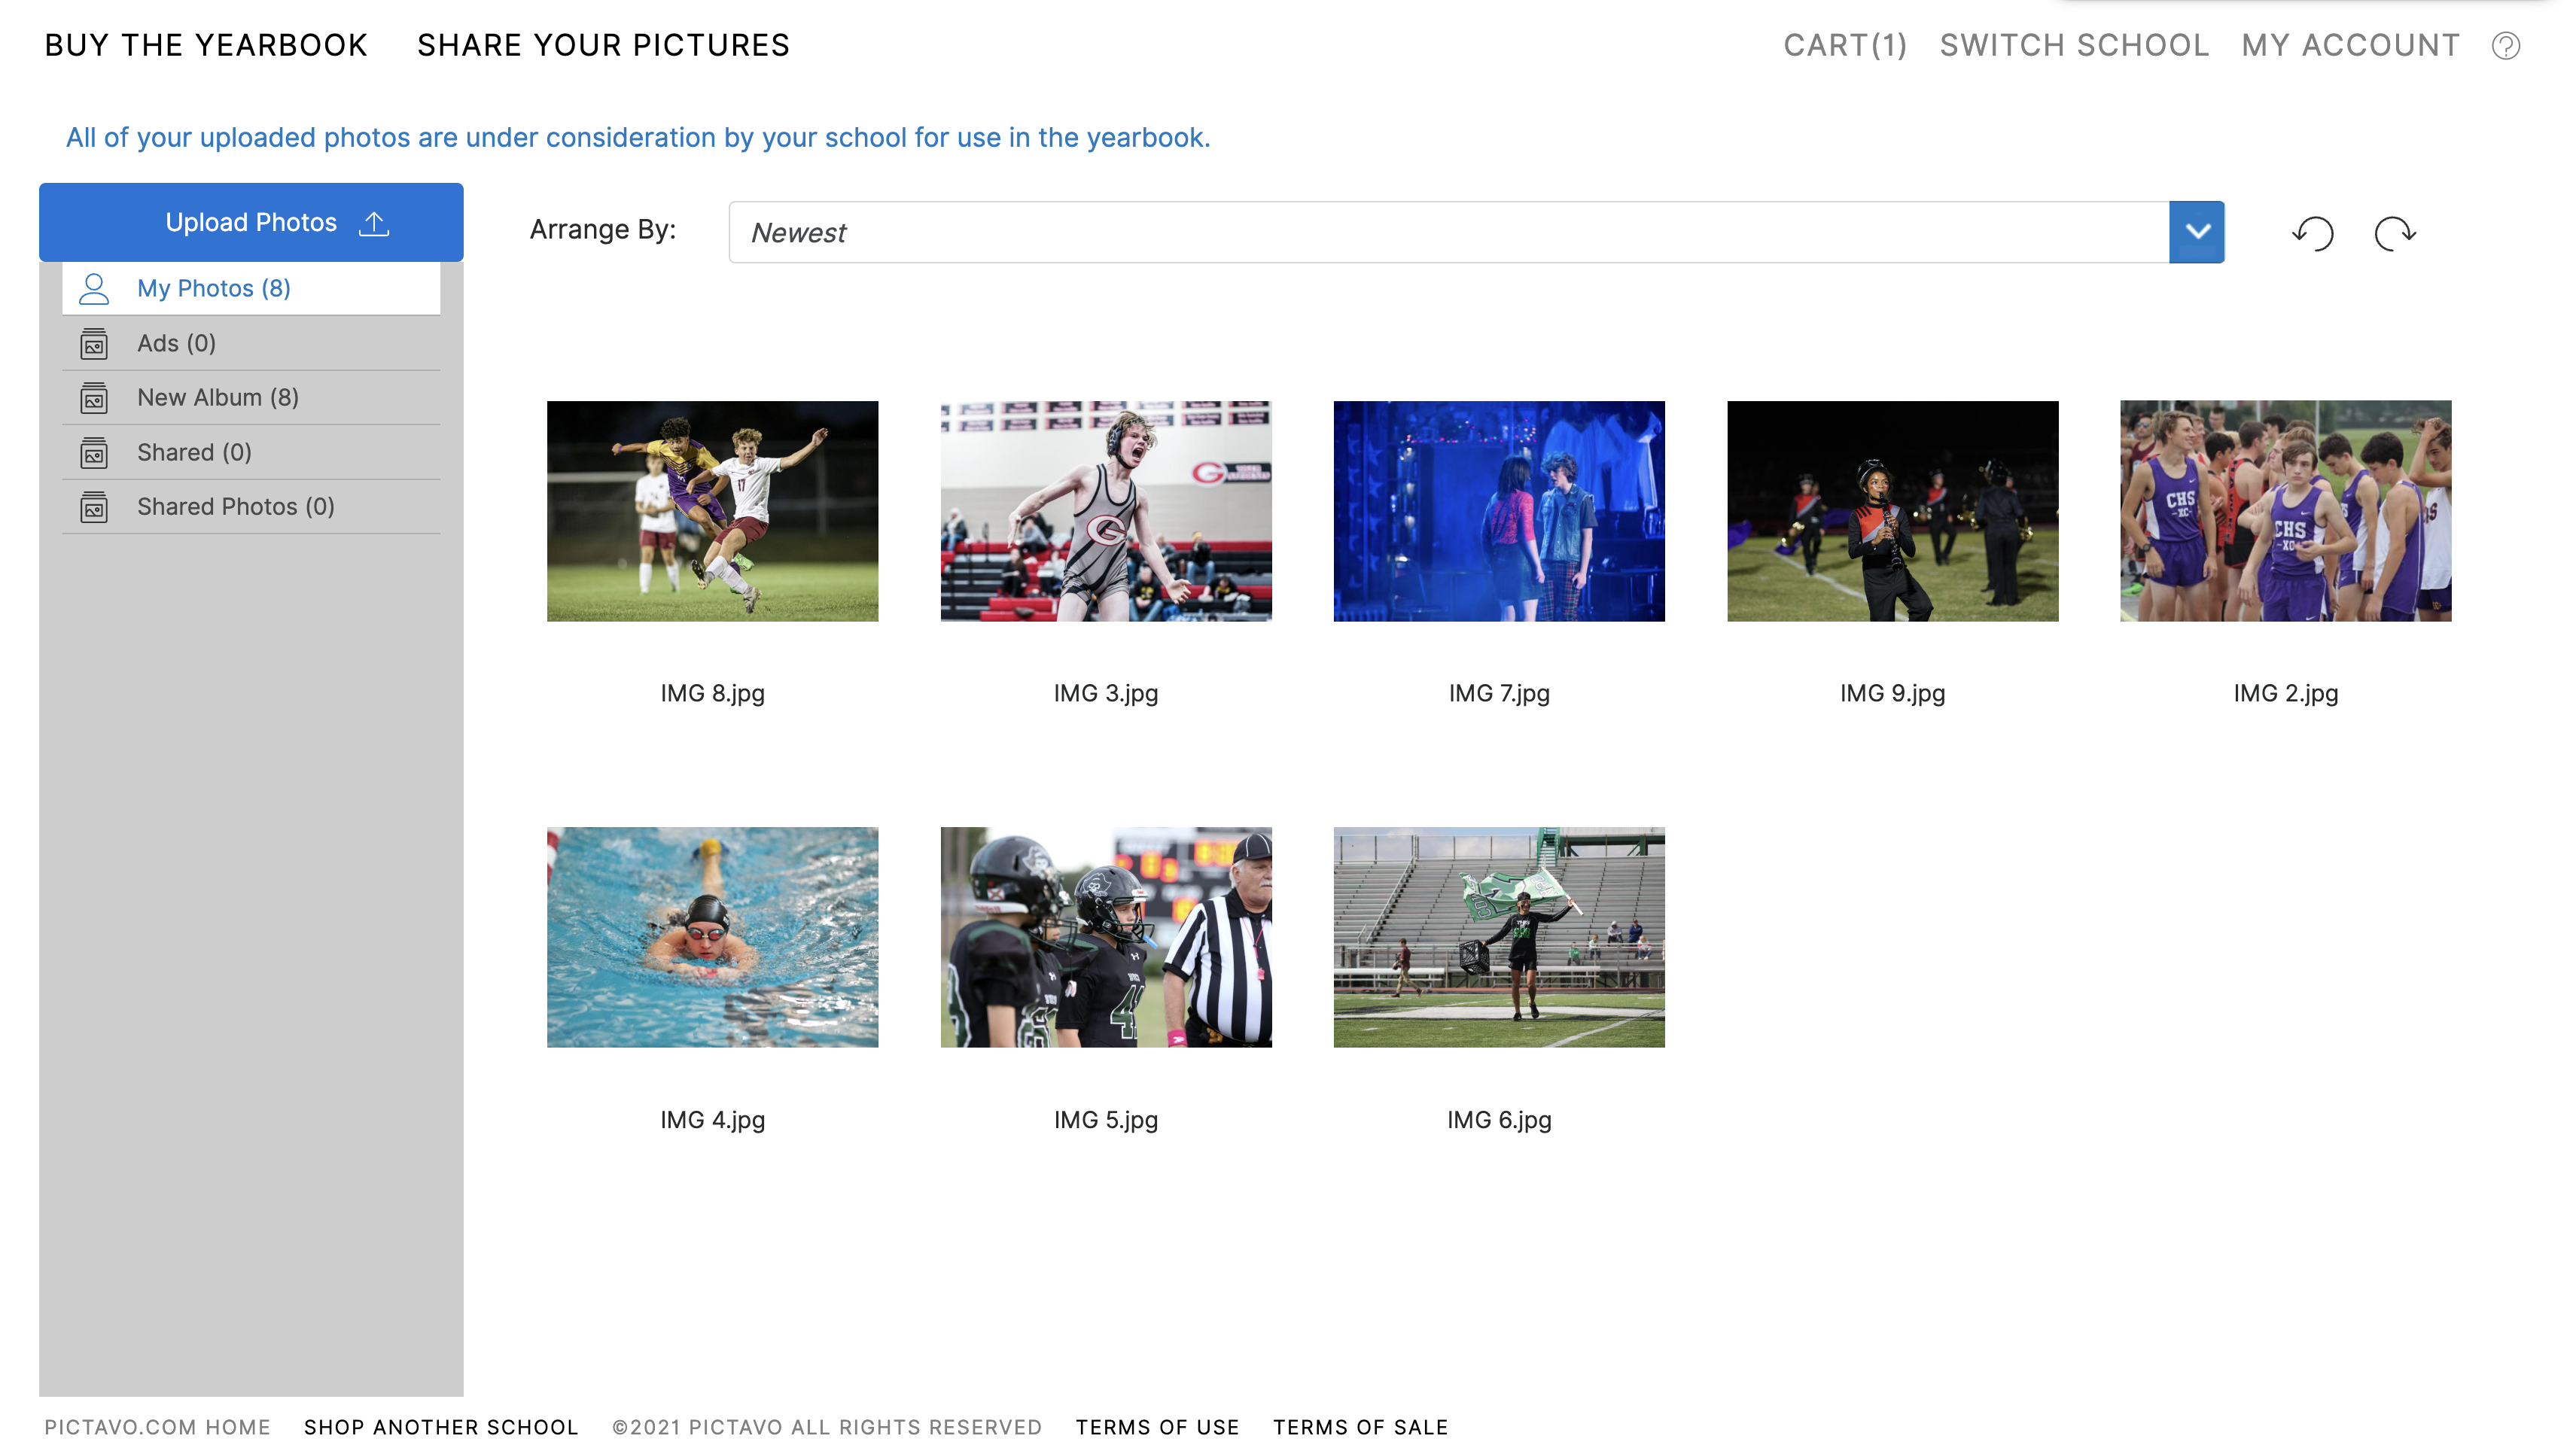
Uploaded photos will appear in here and the yearbook staff now has access to them.
YBKpix is a photo sharing platform where parents, students and other community contributors can upload photos for consideration in the yearbook. Please note contributors will only see the option to upload photos for consideration if the school has enabled sharing.
- First, find your school. Enter a School ID or select the State, City and School name from the respective drop-down menus. Click Let’s Go. If the school has online sales and YBKpix enabled, they will show here.
- If your school has YBKpix enabled, the Share Pictures icon will appear. Click the icon to open YBKpix.
- From here, you’ll see all of the pictures you’ve previously uploaded to the school’s shared folder. To upload photos, click the Upload Photos button in the top left corner.
- Choose which photos from your computer to upload. Be sure to tag them with the first and last name of each student pictured so the yearbook staff knows who is who. Then, choose Shared Photos as the desired folder.
- After tagging your photos and choosing where to upload them, click Upload to finish the process.
- Photos uploaded through YBKpix are considered, but not guaranteed, to be included in the yearbook.